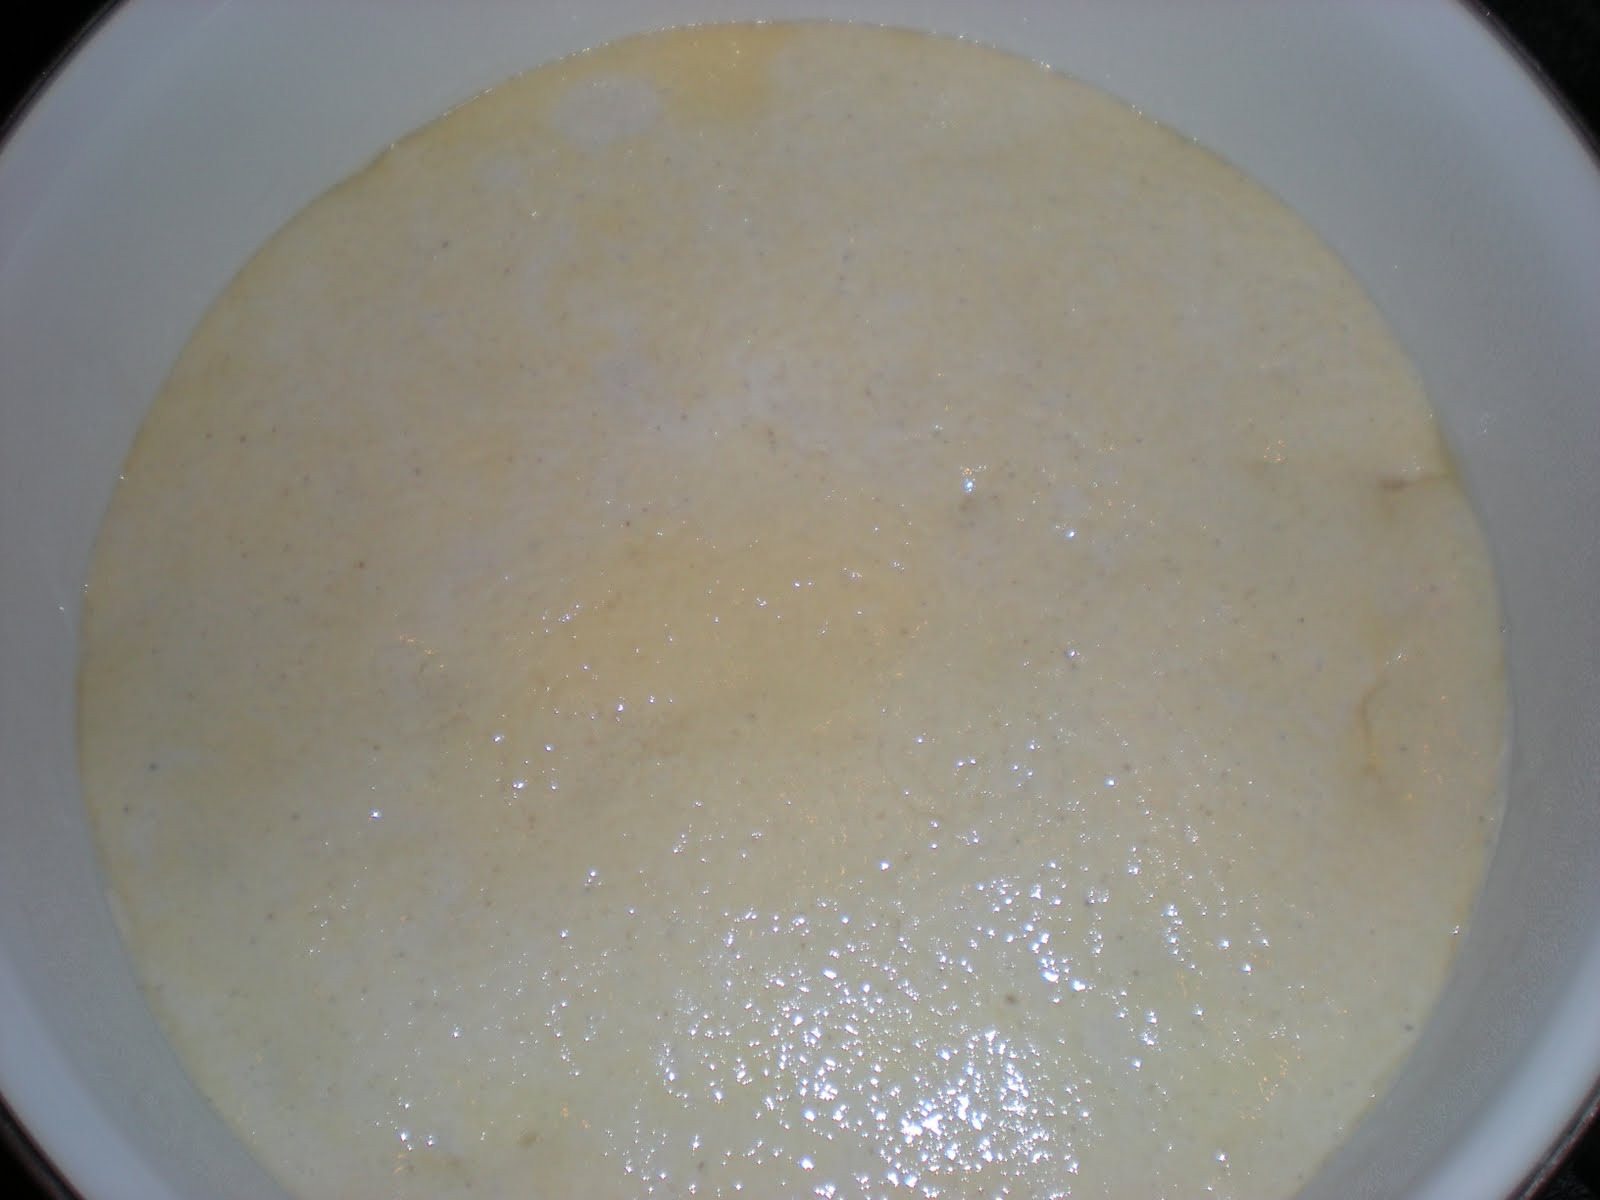

I then put away the fermented batter into the refrigerator since I was going to make dosas for dinner and I did not want the batter to over-ferment and get all sour and stinky (yeah, that could happen! While some people do like that extra fermented taste---I don't). However, I got the other items ready. I had a busy evening ahead and therefore wanted to be done with all the preparation in advance.
The Accompaniments:
The most important accompaniment to a masala dosa is well, the masala itself. Like I mentioned in Part 1 of The Ultimate Masala Dosa, the masala is basically a smashed potato filling. So here is how I make the masala:
- I cook a few potatoes in the pressure cooker. Any kind should work, though I prefer the Yukon Gold kind just because I like the natural sunny color and the texture. My pressure cooker takes 4 minutes to cook those taters.
- I meanwhile finely chop up some onion and slit a few green chillies. I also like to use kari patta or curry leaves just because I simply love the aroma. Besides you gotta use kari patta if you are making South Indian food!
- I take a little bit of oil in a pan, temper some mustard seeds and then throw in the chopped onion, chillies and kari patta. I add salt and turmeric powder to this and sautee it all. I make sure to add some extra salt so that I don't have to bother adding salt again after incorporating the cooked taters into this.
- While the onions are sweating, I peel the skin off the potatoes and roughly chop them up before throwing them into the cooked onions. At this step, I switch off the stove.
- I roughly smash up the potatoes and then mix everything up. The masala is now ready!

The next thing you need is a chutney. Now there are a variety of chutneys that can be eaten with a dosa or a masala dosa. My mom makes this superb coconut chutney with green chillies and cilantro. Of late I have been making this tomato chutney as well as a chutney with onions and red chillies. I made these two again today. (Recipes are included in my Chutney/Pesto/Sauce section).
There, the accompaniments were ready and all I had to do was actually go ahead and make dosas later in the evening.
Finally, making of the Dosa:
- I get my not-so-non-stick pan heated.
- I then pour some batter onto that hot pan with the help of a ladle and immediately start spreading it with the ladle itself in circular motion so as to create a round, thin dosa. I add a wee bit of oil around the circumference of the dosa and in the center too. This sort of fries the dosa thereby cooking it. Soon enough the bottom part of the dosa begins to turn brown, thus indicating that the dosa is pretty much done.
- And then I spoon in some of that potato masala into one half of the dosa and then fold the dosa- like a taco.
- And the masala dosa is ready!


A few pointers:
- Usually the very first dosa turns out not-so-great. But no worries. As the pan gets hotter, the dosas turn out way better.
- Some people prefer their dosas thick, white and soft--- in that case there is no need to spread it out much with the ladle--- in fact then it is exactly like a pancake, with that extra step of flipping involved.
- I know I said that hotter the pan, better the dosa. Well, a slight catch there---- if the batter starts sticking to the pan as you try to spread it out, that means that the pan is a little too hot. When that happens, I just sprinkle some cold water onto the pan to cool it down a bit and then resume again.
- I love my dosa with sambar (a South Indian lentil and vegetable medley), the recipe for which I shall write another day. (Since I was a bit busy today, I skipped making sambar.......)
- If you are a health freak, you can use a non-stick pan and not use any oil at all. But well, I must tell you that everything tastes better with some grease.......
So is this THE Ultimate Dosa afterall? Nope, because it still does not match my mom's dosas nor CTR's dosas. In fact it probably never will. However, in this part of the world, this is indeed THE Ultimate Masala Dosa that my family has access to. And that sure makes me one proud mama! :)
3 comments:
Ah - thanks for the Part 2. Sabji looks great! Btw, I got inspired by Part 1 to actually make batter on Sunday - it was not bad at all - although it could have fermented a little bit more - alas! my oven does not have a light ...so batter was sitting in the dark and therefore was slightly depressed I guess - ha ha! Plus I forgot to add the poha.
Oh wow! that is great!! No light? No problemo! Just wrap up the container in a shawl/sweater.....that'll work! But isn't it always sunny in your part of the world.....? ;)
Sigh! you would think so but this summer has been strange...will try your tip next time!
Post a Comment