Thursday, February 24, 2011

I have bad days too!

One might think that wow! this gal sure cooks some real good stuff. Most times I do, but guess what? I have bad days too! Take for instance the Shrimp Scampi I made the other night. I had all the right ingredients. Most importantly, I was in the right spirit too- totally in the mood.

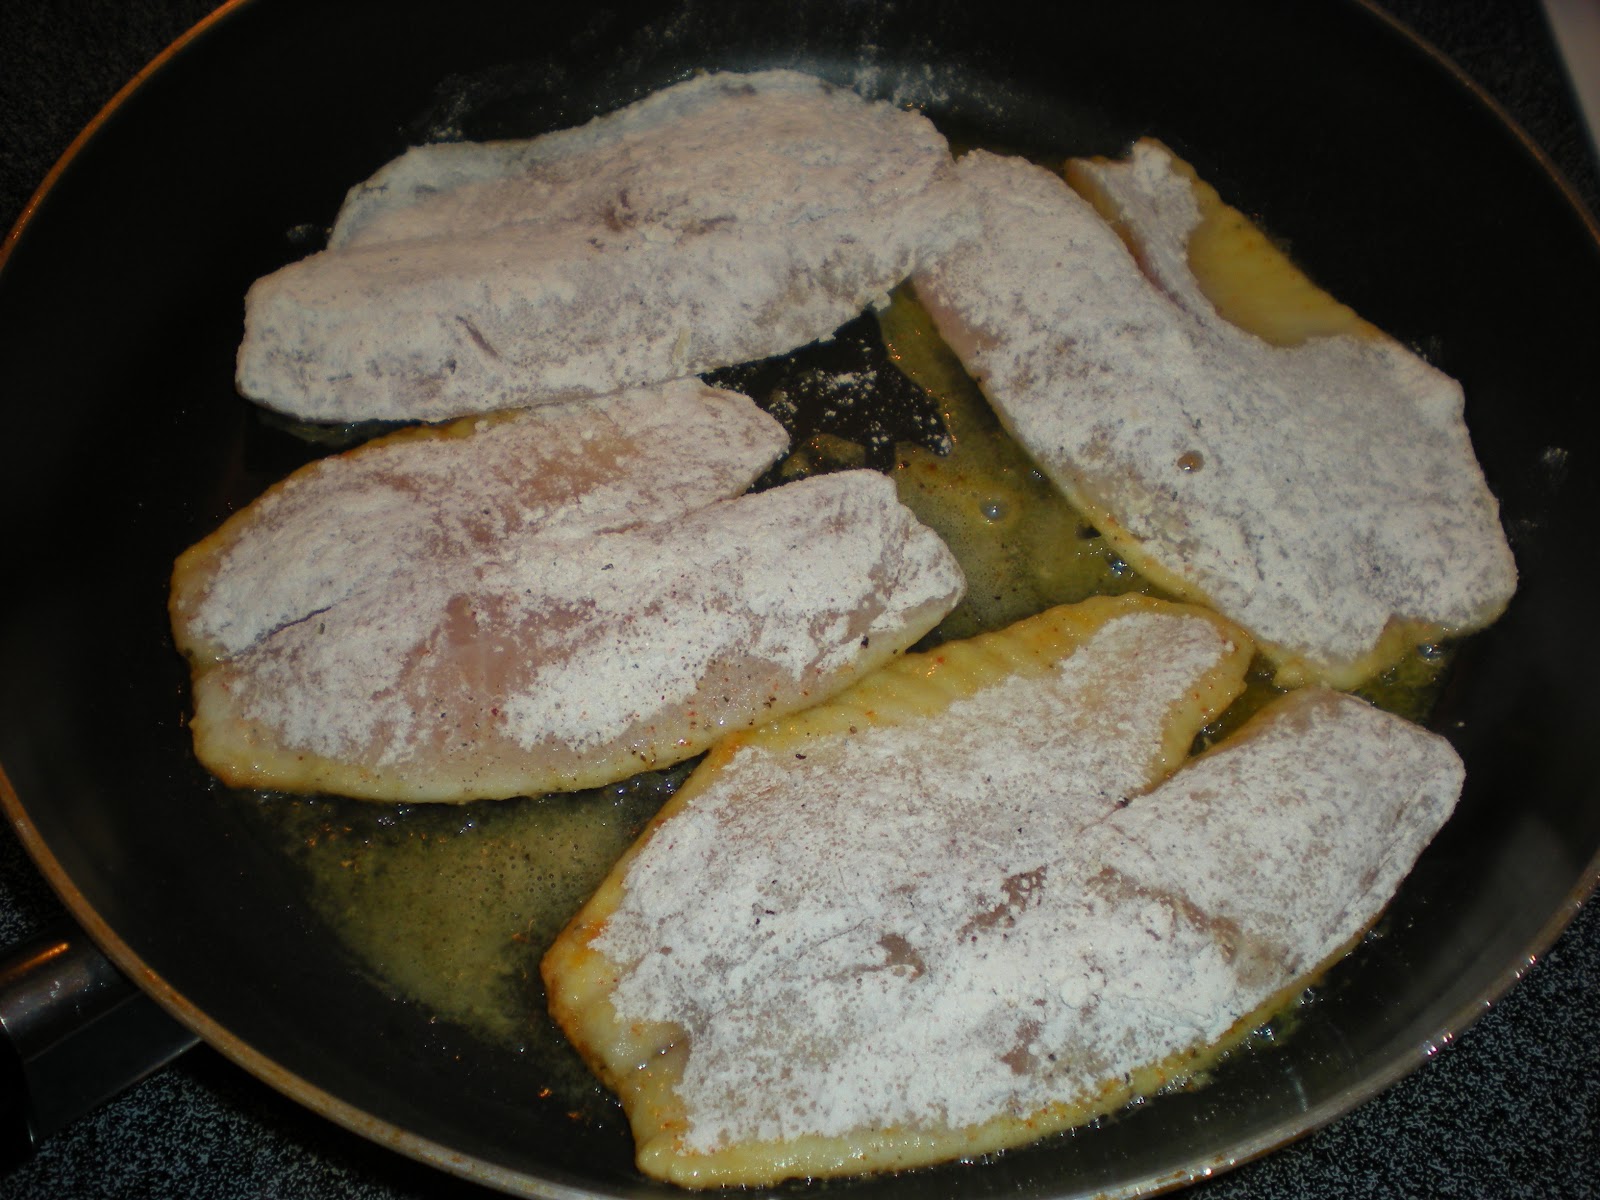
I marinated some tail-on shrimp in lemon juice, salt, pepper, garlic and italian seasoning. Put it away in the fridge for about 30 minutes. Took my devoted pot and sauteed the shrimp in some olive oil and some extra garlic. Cooked some angel hair pasta and threw it into the sauteed shrimp. Tossed everything together. Finally added some salt, freshly ground pepper and a splash of lemon juice. Also added a chopped tomato for color. Looked pretty darn good, I must say. I mean, look at the picture:

 Lookin' Good! But does it taste good?

We served some of that awesome looking shrimp scampi into our respective bowls and as soon as we tasted it, all our spirits were dampened. It had no flavor whatsoever! Sure it had a hint of lemon and garlic, but that's about it! What a disaster! We quietly ate and nobody went for seconds.........yep, you can imagine how bad it must have really been.

I mean, how hard is it really to make shrimp scampi? I have no clue as to why it turned out so bad. One friend suggested adding butter to it...........hmm, perhaps the next time around, I will try butter instead of olive oil. Another friend suggested adding some wine to it.........again, perhaps the next time. My daughter suggested I just make some alfredo on the side and then it will all be tasty. Sure makes sense. But again, why did my shrimp scampi taste like nothing????

They say you eat with your eyes........but you know what, looks can be deceptive. And I proved that to myself with my tasteless shrimp scampi!!


Sunday, February 20, 2011

3-Step Fish with Lemon-Caper Sauce

I owe this recipe to Melissa D'Arabian. For those of you who may not know, she was the winner of Food Network's "The Next Food Network Star" a couple years ago. Her show is called "10 Dollar Dinners" and the show kind of grew on me......she does have some very neat recipes to offer.

She called this recipe "Fish Piccata." I call it my 3-Step Fish. Please note that I have added my own little twist to this recipe. I don't encourage plagiarism either!

The First Set of Needs:

1. Tilapia fillets or any similar bland fish that absorbs flavors well
2. All Purpose Flour jazzed up with salt, pepper, turmeric powder, cayenne pepper, italian seasoning (your choice of spices, really)
3. A pan
4. Cooking Oil

The Second Set of Needs- The Sauce:

1. Capers
2. Lemon juice
3. All Purpose Flour (optional)
4. Some white wine or broth, else just water
5. Salt, pepper

The 3 Step Fish:

1. Pour some cooking oil into your pan and get it going on the stove. The pan should be screaming-hot.
2. Salt and pepper the fish, dip in jazzed-up all purpose flour to coat the entire fillet, dust off extra flour.
3. Drop the fish into the heated oil in the pan. A couple minutes on one side and then flip it to brown the other side. DONE!

Coating the fish with all purpose flour
 Browning one side........
 Browning the other side

 Gorgeous fried fish waiting for that tangy sauce

The Lemon-Caper Sauce:

1. After frying all the fillets, keep the same pan going. Yes, there's going to be some stuff sticking to the pan- that's what we are looking for- all that yummy caramelized goodness. Pour in some white wine or broth or plain water and start stirring and scraping off all those tidbits (yep, deglazing is the term!).
2. Add some capers into this and right towards the end, add some lemon juice. Taste to check the salt etc.
3. Melissa leaves her sauce pretty thin, but I prefer a somewhat thicker sauce and so I add a couple teaspoons of all purpose flour (corn starch should work too, I suppose). One quick boil and ready to be served!

Mmm, the tangy lemon-caper sauce!

Spoon some of that awesome tangy lemon-caper sauce onto the fried fish and serve alongside some brown rice or spaghetti or anything really or if you are on that no-carb diet, eat the fish alone!

Fried Tilapia with lemon-caper sauce and some tortellini on the side

The fish is real easy to cook- I mean, 3 steps literally!! And you can't go wrong with fried fish! That lemon-caper sauce just explodes in your mouth with tangy deliciousness.

Thanks, Melissa D'Arabian!

Tuesday, February 15, 2011

Just-Over-30 minutes-Trio!

I am super-proud of myself for creating a super-healthy, super-delicious and super-pleasing-to-the-senses meal last night with not one, not two, but three wholesome dishes! And everything in just over 30 minutes! Enough with the "super," I suppose and no, I am not trying to imitate Rachel Ray; though I must point out that she says, "under" 30 minutes.......!

Dish 1: My Mint-Cilantro Pesto Pilaf: 

1. Took a handful of almonds, some fresh cilantro, a nice bunch of fresh mint leaves, half a jalapeno, a couple cloves of garlic, lemon juice and salt in my nifty food processor. Within a few pulses, my beautiful mint-cilantro pesto was ready. I tasted it and boy-oh-boy, it awakened my senses like crazy. I almost thought of using it as a dip.......and that minty-lemony-cilantroey (just invented that word!) aroma was simply amazing.

2. I wish I had brown rice or wild rice. But well, I just used regular white rice. Washed a couple cups of rice in my rice cooker and then poured in that mint-cilantro pesto onto the washed rice. Added a couple splashes of olive oil followed by 3.5 cups of water. Now usually the water to rice ratio I use is 2:1, however, in this case, I had all that pesto as well- hence I used half a cup less water. Stirred it up and tasted it once more before switching on the rice cooker to do its thing.

Look at that gorgeous mint-cilantro pesto!

Dish 2: Root-Medley: 

1. Took a sweet potato that I had lying in my pantry for over a month now. Luckily it was absolutely fine. Roughly peeled and chopped it up into bite sized pieces. Chopped up a couple carrots, a couple broiler onions. Threw in a couple cloves of garlic. Sprinkled some salt, freshly ground pepper, italian seasoning and drizzled some olive oil. I had some mushrooms that were going err, bad--- picked out the ones that looked OK- a grand total of 2 and threw that in as well. I placed all this on a baking sheet.


Root-medley (with some mushrooms) ready to get roasted

2. Put it into the oven at 425 degrees F for 30 minutes.

Towards the end, I baked some broccoli florets for 10 minutes and added it to the root-medley for color and as you know, broccoli is good for you!

Roasted Root+Broccoli-Medley

Dish 3: Herbed Chicken: 

1. Took a couple boneless, skinless chicken breasts. Cut them into bite sized pieces and put them in a baking dish. Added salt, pepper, italian seasoning, lemon juice. Also stuck a few cloves of garlic in between, here and there. Drizzled some olive oil and mixed it all up. Covered it with foil.

2. Put this into the oven at 425 degrees F for 30 minutes.

Tender and moist herbed chicken

Note: The great thing about this meal was that I could cook both the chicken as well as the veggies in one go at one temperature. Plus my pesto pilaf was getting ready simultaneously in my rice cooker! 


The kitchen was alive with some tantalizing aromas. We couldn't wait to eat dinner. The pilaf was just right with the mint and cilantro flavors going on. The roasted veggies were cooked to perfection and the chicken was amazingly tender and moist, which was quite a pleasant surprise because boneless, skinless chicken breast usually ends up being a bit dry. The juices that were released in the process worked like a sauce that we just spooned over the rice for extra flavor--- delicious!

The highlight of the evening was this comment from my son, "This dinner is phenomenal, Mommy!"


Herbed Chicken on a bed of Mint-Cilantro Pesto Pilaf with roasted root-medley on the side


Sunday, February 6, 2011

Orzitto

The other night we watched Andrew in Venice where he eats this awesome looking sea-food risotto. You know, Andrew from Travel Channel's Bizarre Foods........ he visits different places all over the world and eats pretty much anything and everything. So anyway, in the last episode, he was in Venice eating all kinds of sea-food and this yummy-looking and oh-so-creamy sea-food risotto. Ever since the kids and I watched that, we have been craving for the exact same risotto! Sadly there's no Venice for us right now and so well, I decided to just make some at home myself.

Now they use a very specific kind of rice to make risotto. Well, I just thought I'll use orzo- I mean I know it is pasta, but it does resemble the short-grained semi-round rice and cooks fast. OK, so it is not really risotto then. No probs- I shall call it Orzitto! I couldn't go get all that amazing sea-food and so stuck to good old tilapia.

Ingreds:

A packet of orzo, onion roughly chopped, sliced mushrooms, garlic, 1 tomato, bite sized pieces of tilapia, frozen green peas, oil, salt, pepper, italian seasoning, veggie stock cube(s), hot water.

Last moment Addition:

Whipping cream (for the creamy factor).

Method:

1. I took my favorite cooking pot and poured in a few teaspoons of cooking oil, got the heat going and threw in some chopped onion, garlic. Sauteed it a bit and then threw in some sliced mushrooms and a chopped tomato.
2. Added a couple veggie stock cubes, salt, italian seasoning and some freshly ground pepper. I then poured in that packet of orzo, stirred it all and then added hot boiling water to completely immerse the orzo. Since the water was hot anyway, didn't take long for it to come to a boil. At that point I covered the pot with the lid and turned down the stove to a minimum.
3. After about 10 minutes, I opened the lid and all that orzo had cooked up and all the water was gone. I poured in some more hot water into it and stirred it.
4. And then finally I folded in the tilapia and the frozen peas and a dash of whipping cream. Covered the lid, turned off the stove and meanwhile set the table. The fish cooked up perfectly in that heat and of course, the frozen peas too.

Mmm, that creamy delicious tilapia orzitto!

The final consistency of my orzitto was perfecto. Nice and creamy (yep, the whipping cream sure helped!) and flavorful. I did make a mental note though that this preparation is best when served immediately, else orzo tends to get separated and then the risotto consistency no longer prevails. That's right- risotto ought to be made with proper short grained rice. Hey, I will make sure to keep some Arborio for the next time around.

The good thing is that the leftover orzitto is now really orzo and still delicious. Hmm, sorta like killing two birds with one stone!

Wednesday, February 2, 2011

Not Your Ordinary Puffed Rice Cereal

Chivda/Chewda/Chiwda--- not sure what the correct spelling is--- is this great crunchy snack mixture with several different flavors going on at the same time- a lovely combination of hot-sweet-spicy-salty, sometimes tangy........you name it. Great with afternoon chai (tea) or coffee. I remember whenever we had unexpected guests at home (back then, guests were always unexpected- nobody called!!), my mom would make chai and pour in some chivda into a serving bowl, stick a spoon in, place the chai and the chivda onto a tray and serve it to the guests. She would usually make a good amount of this crunchy snack well in advance and then stock it up in these air-tight containers. Worked out great!

There are many different kinds of chivda and my favorite is the one made with murmura. Murmura is basically puffed rice cereal and here is how I make this great snack. Oh yeah, I am in that stage now- I make a reasonable quantity of the chivda and then stock it up in air tight containers.

Needed:

Murmura (Puffed Rice Cereal), peanuts, roasted chick peas (roasted chana dal- available at the IGS), salt, oil.

 Murmura or Puffed Rice Cereal in a bag
 Murmura
 Roasted Chana Dal/Chick Peas

I throw in, you don't have to if you don't want to!:

Green Chillies, a couple cloves of garlic- smashed, curry leaves (if lying in my fridge), red chilli powder.

Method:

1. I take a huge pot and pour in a few tablespoons of oil. Get the heat going on medium and then add peanuts. Fry them until they start turning brown.
2. At this point, I add some split chick peas followed by a couple green chillies slit lengthwise and a couple cloves of smashed up garlic. Quickly give it one stir- don't want it all to burn! I then turn the heat down to minimum.

The initial frying

3. I then pour in the bag of murmura, followed by salt and red chilli powder. Mix everything up and keep stirring for at least 10 minutes. I keep stirring until my hand literally starts hurting! I then taste it and if it is crunchy enough, I switch off the stove. Done! As easy as that!

 Murmura Chivda Ready!

After the mixture has cooled off, I transfer it into air tight containers.Works out great for those mid-day "oh-I-need-a-snack" moments and of course, when you have guests over. I believe this stuff is pretty healthy too-- I mean, for starters, there's not much grease involved and that is always a plus, right? And it tends to be pretty light on your stomach as well. And then there's nuts!